The moment of truth… powered up our FAB2010 XLR Input Module for testing. I’m happy to say it works great. The Logic Control Inputs for the 20dB Pad and Phantom Power works as expected.
So basically, if you want to enable PAD or PHANTOM POWER, all you need to do is apply a small voltage to it’s respected logic pins on the board. See photo below. A logic level control voltage can be anywhere from +3.3V to 5V up to your V+ level. These can be switched from hard-wired switches (latching type push-buttons), or from a microprocessor or logic gate chips (TTL or CMOS type).
How it works
Small signal relays do the actual work of switching your phantom power and 20dB pad. Each relay is controlled by a small transistor, acting as an electronic switch. You can control whether to turn on/off this transistor (and consequently the relays) by applying a small voltage to the base terminals. This conducts the transistor into saturation, thereby switching on the relay. Note: Only a small base voltage is required to “trip” this transistor into the ON stage.
The nice thing about this architecture is you don’t have to run signal wires from your board, all the way to your front panel. Your audio signal stays on the board and only your control voltage goes to your front panel switches. This keeps noise down by avoiding RF interference caused by running signal wires all over the place. You’re also not routing 48volts to your front panel switches… The 48Volts stays on the XLR board, and again you just need a small control signal to activate 48Volt phantom power.
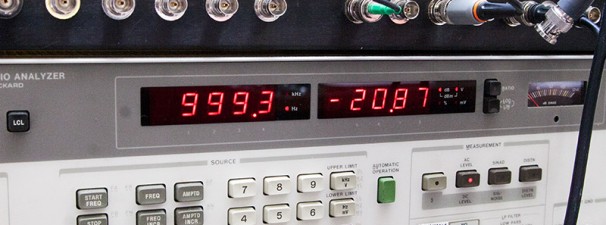
Signal analyzer showing -20.87dB signal attenuation, when the PAD is enabled. Pretty close enough.


