Build your own Preamp – FABModules – FiveFish Audio Building Blocks for DIY Projects Blog Articles

Build. Learn. Make Audio Gear...for Students, Makers, Hobbyists and Professionals

FABModules update – Week of Feb. 18, 2013

0 Comments
Promotion, Updates
Posted by: admin

A lot happened last week as our prototype PCBs began arriving.  We populated the prototype boards and verified them to be working electrically. Some boards will need a Revision B redesign for some mechanical clearances before mass production.

The following boards were tested last week, and I’m happy with the results.
FAB2010 XLR Input Module
FAB2110 Input Transformer Module

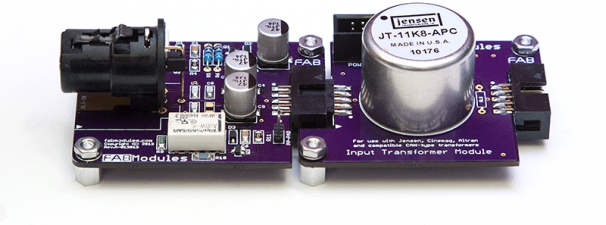
We also got to see our first “mating session!” When we hooked up the FAB2010 and FAB2110 together.  This is the first-time I’ve seen my module concept in reality and this got me excited about the future possibilities.

Will try to get one new FAB board designed this week.


FAB3010 – XLR Output Module Prototype PCB

0 Comments
FAB Modules, FAB3000 Output Modules
Tags: , , ,
Posted by: admin

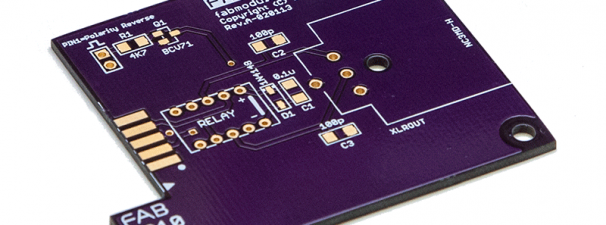
Received our FAB3010 XLR Output Module.  Just to recap, the FAB3010 Module includes a relay-controlled Polarity Reverse. All you need to do is apply Logic “1” to the header pins (located on upper left corner) and it will switch the relays on/off.  A Logic “1” can be anywhere from +3.3V to +5V, or up to your V+ voltage.

I need to make a Revision B board because I want to move the XLR jack farther out, so it won’t have any problems with clearances if you want to mount the XLR jack on a .125″ thick case panel.  But other than that, I think it looks good.

Will try to populate this board in the next day or so, so I can test the Polarity Reverse logic control. I don’t foresee any problems, but the proof is in the pudding as they say.

Continue Reading…

FAB2010 XLR Input Module Prototype Testing

The moment of truth… powered up our FAB2010 XLR Input Module for testing. I’m happy to say it works great.  The Logic Control Inputs for the 20dB Pad and Phantom Power works as expected.

So basically, if you want to enable PAD or PHANTOM POWER, all you need to do is apply a small voltage to it’s respected logic pins on the board. See photo below.  A logic level control voltage can be anywhere from +3.3V to 5V up to your V+ level.  These can be switched from hard-wired switches (latching type push-buttons), or from a microprocessor or logic gate chips (TTL or CMOS type).

How it works

Continue Reading…

XLR Input + Input Transformer Module Combo

Here’s a photo of how the FAB2010 XLR Input Module and FAB2110 Input Transformer Module connect to each other.

I added a 2-pin header on the FAB2010 XLR Input Module. Later, I’ll show you how to connect those pins to your switches to control -20dB Pad and switching of Phantom Power.  I’ll also show you how to connect these pins to a Microprocessor, like an Arduino (AVR) and show it’s logic level capabilities.

Continue Reading…

FAB2110 Input Transformer Module – Prototype with parts

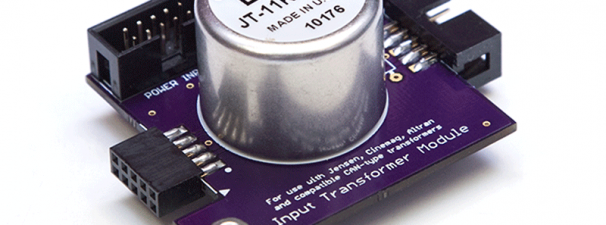
Populated our FAB2110 Input Transformer Module with parts.  Here are some photos showing a Jensen JT-11K8-APC Input Transformer mounted on it.

The board looks good, but I’d probably add another mounting hole on the lower right corner, just because the board is a little unstable with a heavy transformer mounted on it.

I’ll build another prototype using a different Input Transformer, like an Altran or EA brand.

Continue Reading…