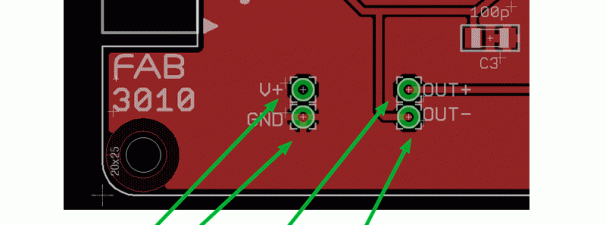
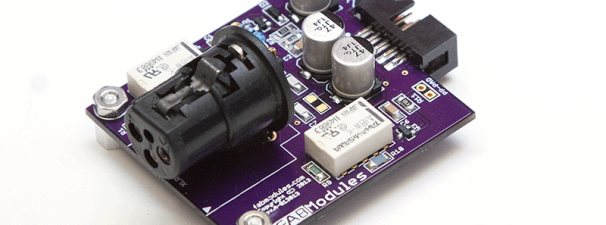
I added extra pads on the PCB so you can have easy access to the V+,GND,OUT+,OUT- signal lines on the board. This is useful if you’ll be using our FAB2010 XLR Input Module, and FAB3010 XLR Output Module in your own project and you just want to solder your voltage and control wires directly to the board (without using the Ribbon connector or a breakout board).
Build your own Preamp – FABModules – FiveFish Audio Building Blocks for DIY Projects Blog Articles
Sample FAB Setup – Power supply and other stuff
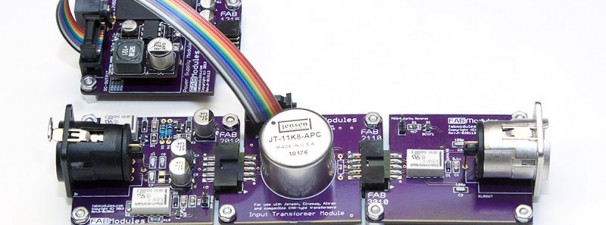
Here are some photos showing the FAB1215 Power Supply Module powering some FAB modules via a ribbon cable.
Passing your Audio Signal through an Input Transformer
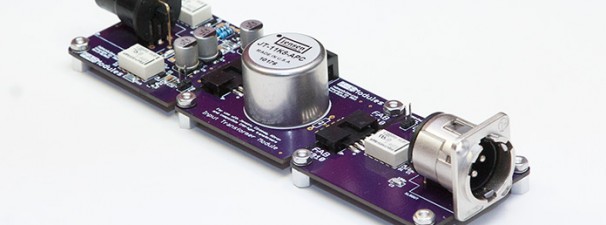
Here’s one of the simplest way to use our FABModules…. Hook up the following FABs together:
FAB2010 – XLR Input Module
FAB2110 – Input Transformer Module
FAB3010 – XLR Output Module
All that’s missing is Power, if you want to enable the -20dB Pad, Phantom Power and Polarity Reverse functions. Otherwise, it will still work without power applied. After all, it’s just an input transformer inserted in your signal chain.
XLR Input + Input Transformer Module Combo
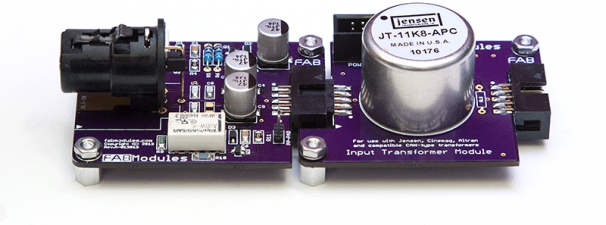
Here’s a photo of how the FAB2010 XLR Input Module and FAB2110 Input Transformer Module connect to each other.
I added a 2-pin header on the FAB2010 XLR Input Module. Later, I’ll show you how to connect those pins to your switches to control -20dB Pad and switching of Phantom Power. I’ll also show you how to connect these pins to a Microprocessor, like an Arduino (AVR) and show it’s logic level capabilities.
FAB2010 Prototype – populated with parts
Populated the FAB2010 boards tonight. I put too much solder paste on my resistors so I need to be careful doing that. It’s a little hard because I’m just using a plunger to dispense the paste. I need to get one of those solder paste pump dispenser. I’ve seen them on eBay for around $150 or so.
Anyway, here are some pictures.

